
Following are the steps that you will follow to Debugging Technique in Magento 2:
Enable Developer mode
The first thing you must do is to enable the developer mode. So it will automatically deploy JS & CSS file to pub/static folder so you can save the time to run the command each time you made changes in the js & CSS file.
Enable the developer mode, from ssh, go to Magento 2 root folder and enter the following command:
php bin/magento deploy:mode:set developer
Or you can go to the .htaccess file and uncomment the SetEnv MAGE_MODE developer line

Enable exception printing on the webpage in Magento 2
As we all know, when Magento has an error, it will show us on the screen a message something like this Exception printing is disabled by default for security reasons. However, you must go to the file to read that error.
To read it on the web page screen, please go to the directory pub/errors and rename the file local.xml.sample to local.xml.

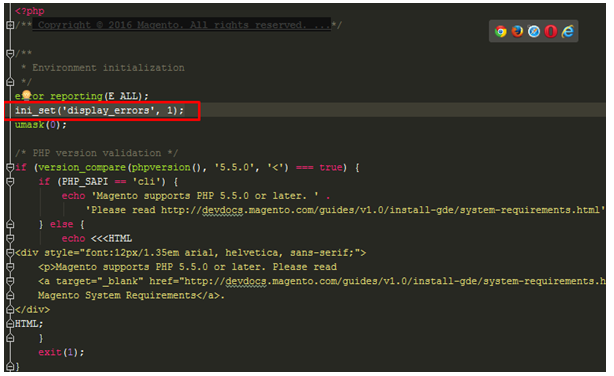
Enable PHP display_errors
To enable PHP display errors, please go to file : {root}/app/bootstrap.php and uncomment the line ini_set('display_errors', 1).
Perform each of the opening paragraphs earlier mentioned and you may do debugging in Magento 2. Expect our post can help. If you have any queries in doing Debugging Technique in Magento 2, leave them in the comment segment, I will respond as soon as possible
php bin/magento deploy:mode:set developer


